If you’ve ever tried to remove spray foam insulation from your roof, you already know it’s not as simple as peeling it off. Once the foam hardens, it sticks tightly to surfaces and can be really tough to get rid of, especially if it is old, damaged, or blocking repairs.
But don’t worry! In this guide, we have explained how to remove spray foam insulation from the roof using easy steps. We’ve also shared useful tips to make the job easier and explained when it’s best to get professional help.
Tools and Materials For Removing Spray Foam Insulation
| Tools | Materials |
| Utility knife or insulation saw | Trash bags or containers |
| Wire brush | Chemical spray foam remover (optional) |
| Scraper | Sandpaper |
| vacuum | Ladder |
| Safety goggles | Dust mask or respirator |
| Gloves | Cleaning cloths or rags |
How to Remove Spray Foam Insulation from the Roof? Step-by-Step Guide
Removing spray foam insulation takes care and attention. Follow these simple steps to do it safely and cleanly.
1- Wear Safety Gear
Before you start removing spray foam insulation, it’s very important to protect yourself. Spray foam can break into dust and small particles during removal, which can be harmful if inhaled.
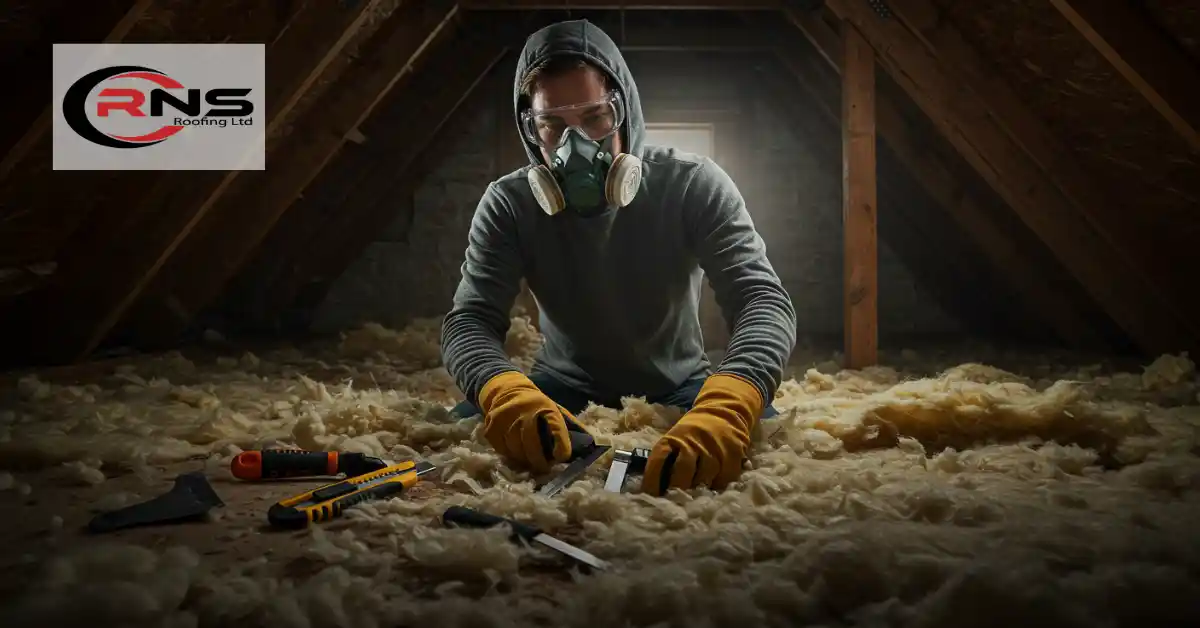
Always wear gloves to protect your hands from sharp tools and foam residue. Also, wear a dust mask to avoid breathing in any foam particles, especially in enclosed spaces like attics. Your safety should always come first before starting any part of this job.
2- Check the Condition of the Foam
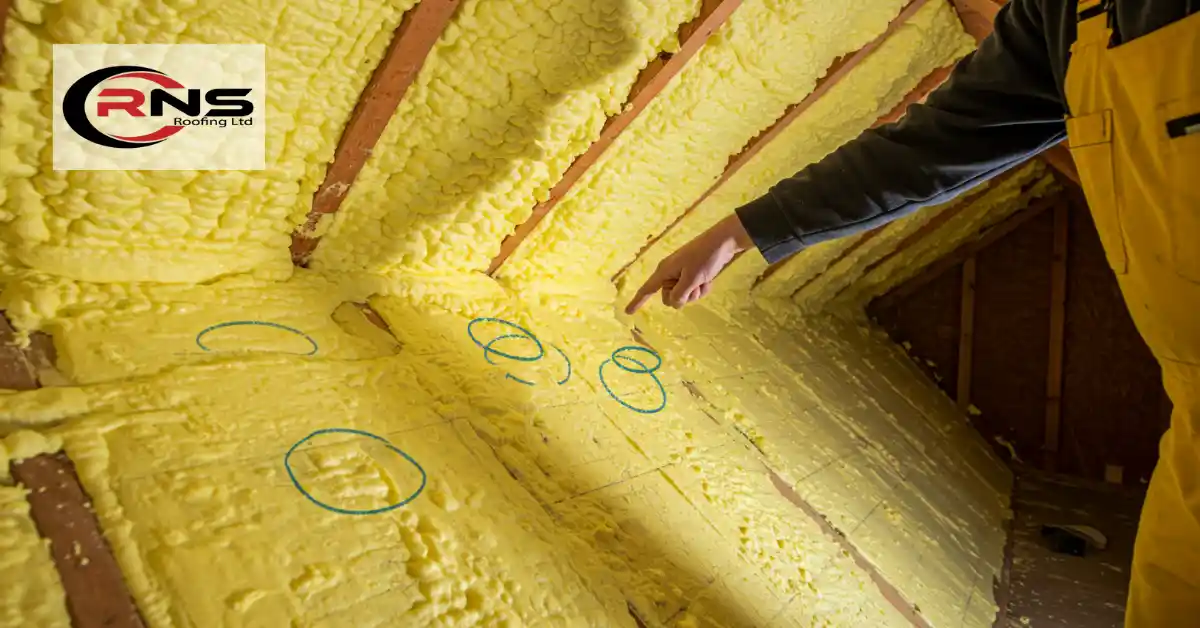
Start the process by carefully inspecting the spray foam insulation on your roof. Check if the foam is cracked, discoloured, wet, or feels soft to the touch. Also, see if it’s blocking access to any important areas like electrical wiring or vents.
Once you’ve identified the areas, mark them clearly. So you will just focus on the parts that are damaged.
3- Cut the Foam
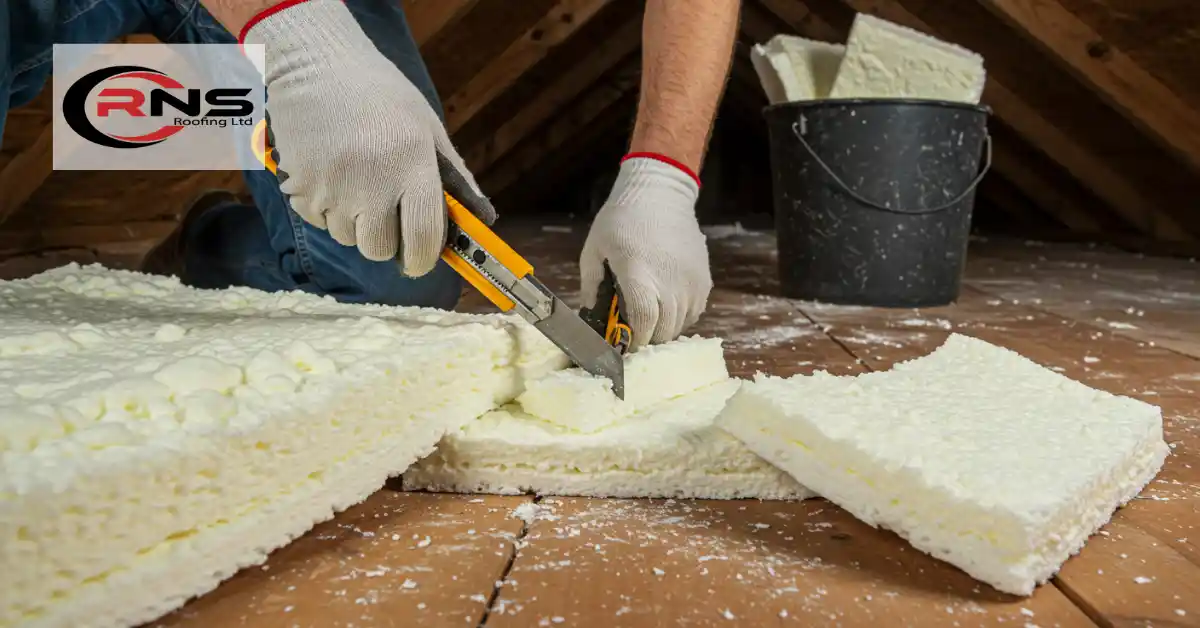
Cut the foam into small sections with a utility knife or insulation saw, which will make it easier to handle. Spray foam usually expands and becomes thick, like a sponge.
Try to work slowly and carefully. If you press too hard, you could damage the roofing material underneath, especially if the foam is directly on wood or drywall.
4- Pull Out the Loose Foam
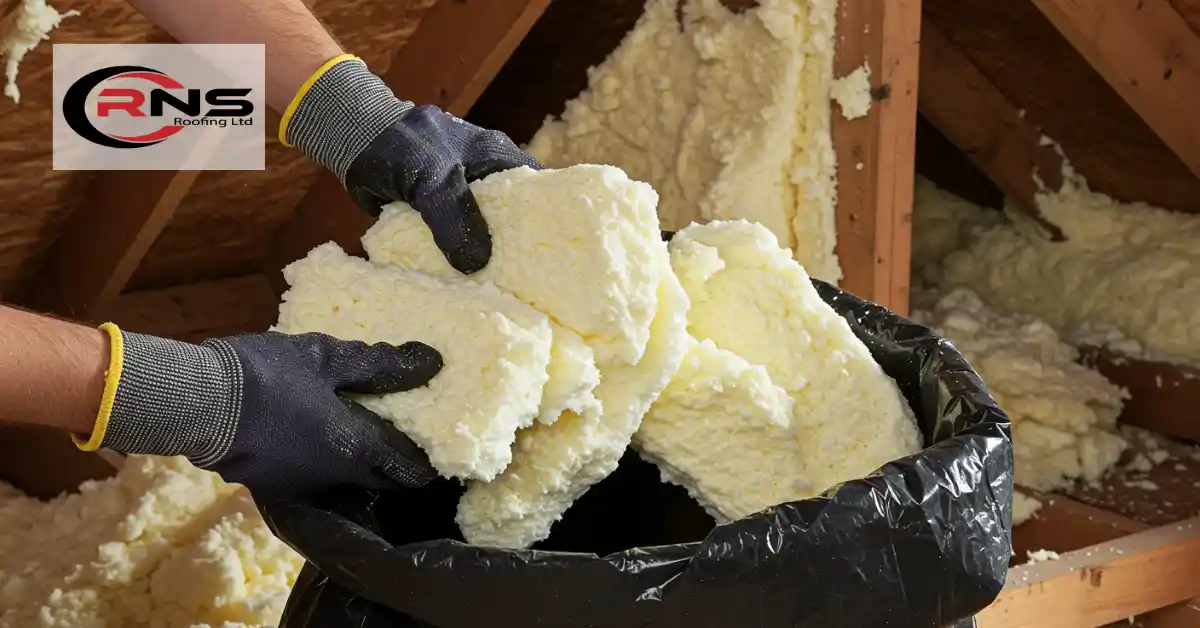
After you’ve cut sections, you can now pull out those parts of the foam by hand. Put on your gloves and start pulling out the foam chunks one by one.
Some pieces will come off easily, especially if the foam is old, damaged, or not attached firmly. As you remove each chunk, place it directly into a trash bag or bucket. This helps you keep your work area clean and safe.
5- Use a Scraper
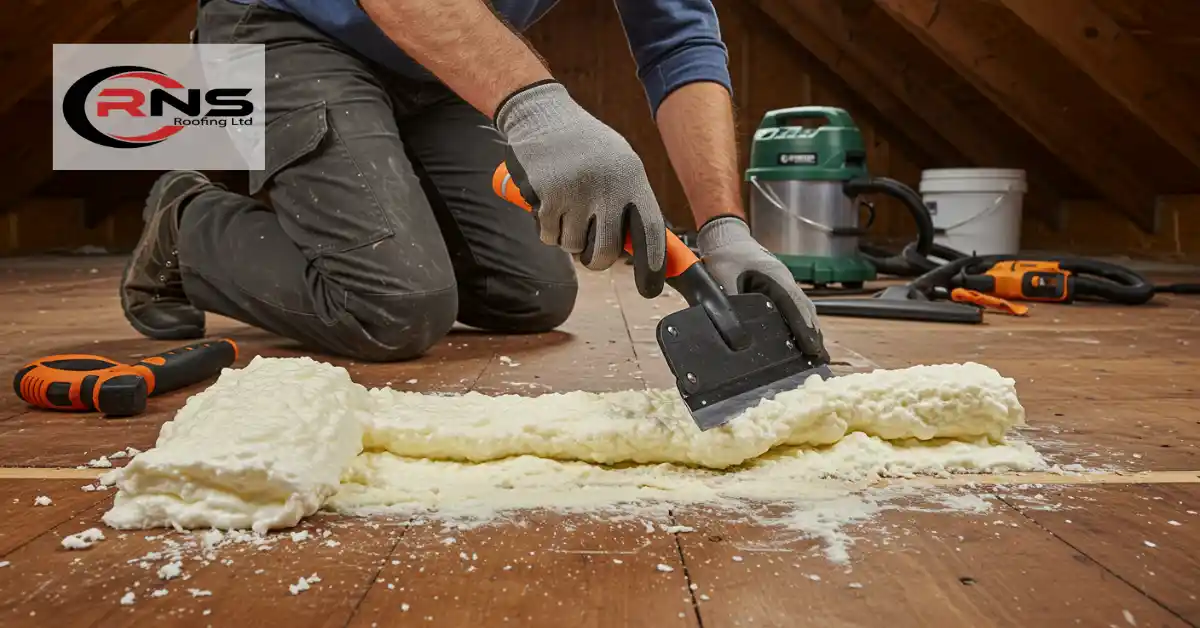
After removing the large pieces, some thin layers of foam may still be stuck to the roof surface. For this, you can use a scraper to gently peel off the foam. Place the scraper under the edge of the foam and slowly push forward. The foam will start to come off in thin layers.
This part can take time, so be patient. Don’t press too hard or scrape too aggressively, especially if the roof surface is fragile.
6- Remove Leftover Foam and Residue
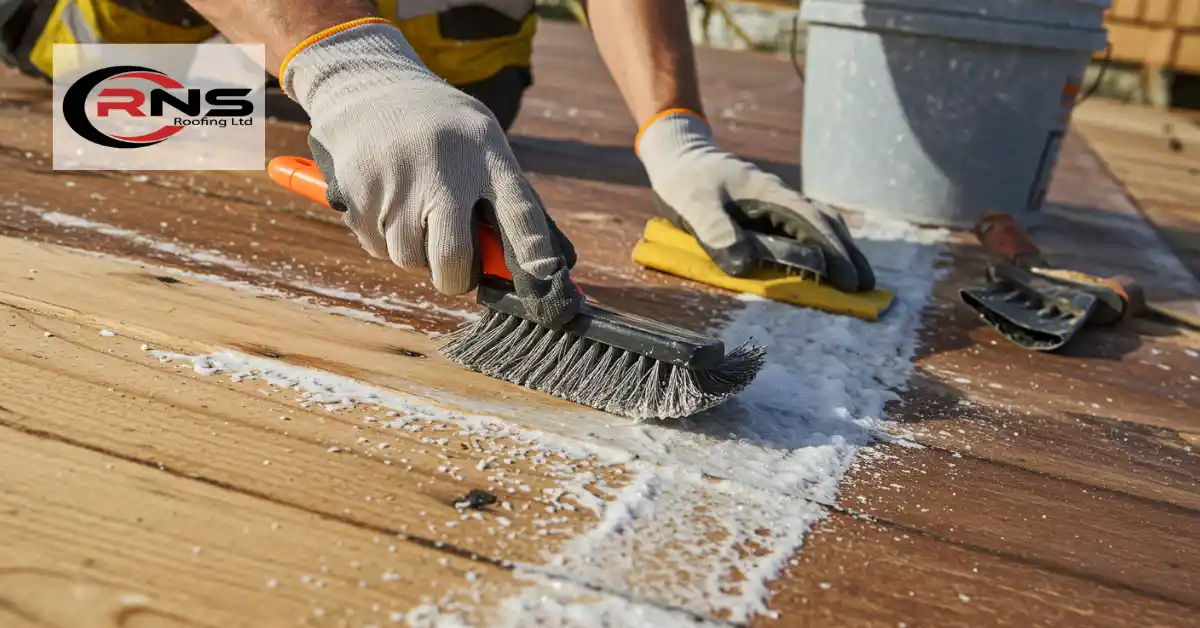
After scraping, there might still be some small bits of foam or sticky residue left behind. This part is very important, especially if you’re planning to install new insulation or fix the roof. The surface needs to be as clean and smooth as possible.
To clean these leftover bits, you can use a wire brush to scrub off any foam that’s tough to remove. Then, use sandpaper to smooth out the surface and get rid of foam stuck in small cracks or corners.
You may need to scrub the same area more than once to clean it completely, so be gentle while doing this and take your time.
6- Use Chemical Method
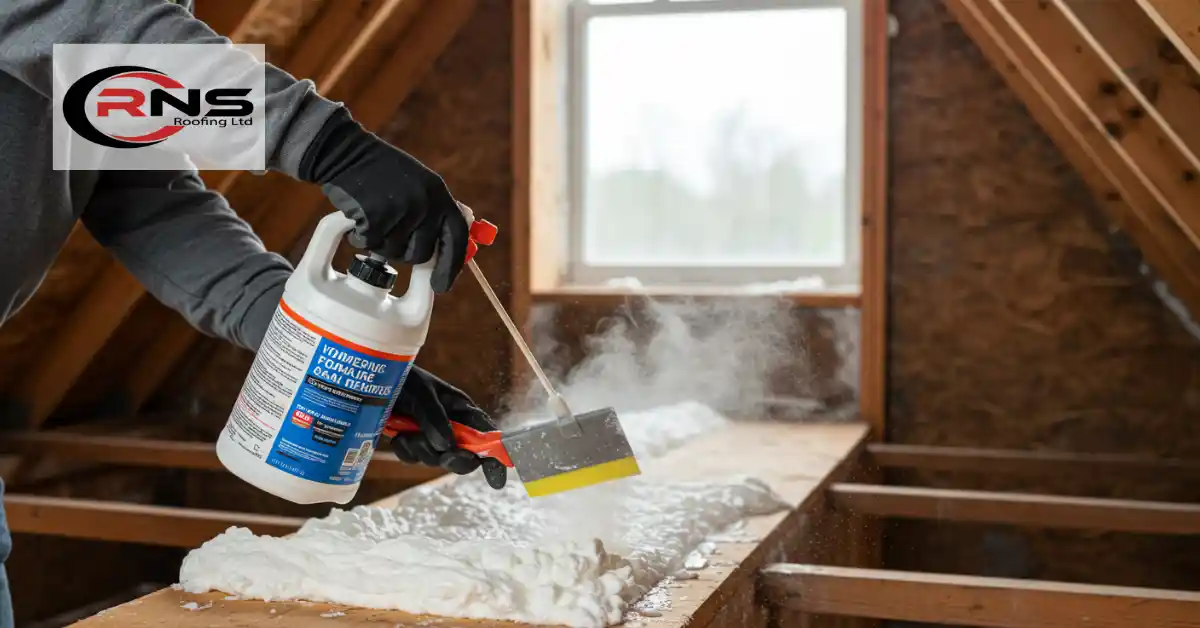
Sometimes, even after cutting, scraping, and sanding, some spray foam just won’t come off easily. In that case, you can try the chemical method.
This involves using a spray foam remover, which is a special chemical that helps soften the foam so you can scrape it off more easily. But make sure to only use chemicals in well-ventilated areas, and read the label carefully.
How to use chemical remover:
- Wear gloves and a mask (it’s strong stuff).
- Spray the remover directly on the foam.
- Wait 10–20 minutes (or follow product instructions).
- Scrape off the foam once it softens.
If you’re looking for a DIY chemical method, some people try homemade solutions using acetone or nail polish remover (which contains acetone). These can sometimes work on fresh or slightly soft foam, but they are not as strong as commercial products.
7- Vacuum the Area
After removing the spray foam completely, use a vacuum on the area. You can use a vacuum to pick up all the foam dust, tiny foam pieces, and any other debris left behind from the removal process. This step is very important because it helps keep the workspace clean and safe.
Extra Tips for Spray Foam Removal
Here are a few extra tips that can help you make the job smoother and safer:
- Always work slowly and patiently. Take breaks if you start feeling tired. Use sharp tools to make cleaner cuts and reduce effort when cutting or scraping.
- Keep the work area well-ventilated, especially if you’re using chemical removers, to avoid breathing in harmful fumes.
- Always test any chemical or solvent on a small hidden area first to make sure it won’t damage your roof.
- If you find mould or water damage under the foam, address these issues immediately to prevent bigger problems later.
When Do You Need Professional Help?
You may need professional help when the job becomes too difficult, dangerous, or time-consuming to handle on your own. For example, if the foam covers a very large area or is stuck deep in corners, gaps, or between structural parts of the roof, it might be too tricky to remove by hand.
Also, if the foam is installed in high or steep areas, climbing and working without the right safety gear can be dangerous. Professionals are trained for this kind of work and come with the proper equipment.
Instead of taking chances, consider hiring spray foam removal services to handle the job safely and efficiently. Professionals know how to deal with stubborn insulation, especially closed-cell foam, and can remove it without causing damage to your home.
Conclusion
Removing spray foam insulation from a roof takes time, effort, and the right technique. By following each step carefully, starting with cutting, scraping, sanding, and cleaning, you can successfully handle it as a DIY task. Chemical removers can help with stubborn spots, but they should be used with care.
Always check your roof for damage after the foam is gone. If the job feels too difficult or unsafe, calling a professional roofer is the smart choice. A clean, smooth roof surface will help you move forward with new insulation or repairs confidently.
FAQs
Does spray foam damage the roof surface when removing it?
It can if you’re not careful. Always use gentle scraping and sanding to avoid scratching or damaging the roofing material underneath.
How long does it take to remove spray foam insulation?
It depends on the size and thickness of the foam. Small areas may take a few hours, while larger jobs can take a full day or more.
Can I reuse the area immediately after foam removal?
Yes, but only after it’s fully cleaned and checked for any damage. Make sure there’s no residue left before applying new insulation or doing repairs.
Can I remove foam from metal or wood surfaces the same way?
Yes, but be gentler with wood to avoid damage. On metal, scraping and chemical removers usually work well without causing harm.

