Installing a flat roof isn’t as simple as it looks. It takes proper planning, the right tools, and careful steps to make sure your roof is watertight, durable, and safe. Whether you’re working on a shed, garage, or your house, our guide covers everything, from what tools you need and how to prepare the surface, to a clear, step-by-step installation process.
Step-by-Step Guide: How to Install a Flat Roof

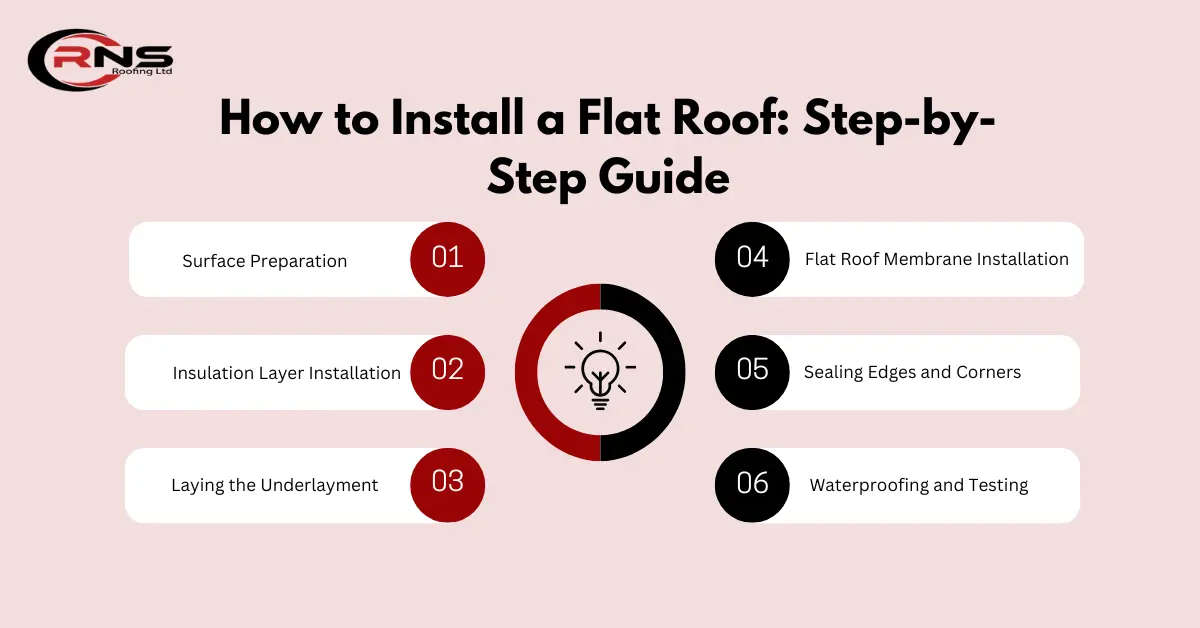
1- Surface Preparation
The first step is to get the surface ready. Make sure the base of the roof, known as decking, is clean, dry, and strong. You might need to replace damaged wood or clean off dust and debris. A clean and solid surface is super important because it helps all the other layers stick properly and keeps the roof safe and long-lasting.
2- Insulation Layer Installation
After your surface is ready, it’s time to install insulation. This helps keep the building warm in the winter and cool in the summer. Most people use rigid foam boards for this part. You lay the boards across the decking tightly, with no gaps in between. Then, secure them using special fasteners or adhesive.
3- Laying the Underlayment
Next comes the underlayment or vapour barrier. This thin sheet goes on top of the insulation and acts like a shield to stop moisture from getting into the roof layers. Just roll it out across the surface and make sure the seams overlap. This way, water has no way to sneak through.
4- Flat Roof Membrane Installation
This is one of the most important parts of a flat roof. The membrane is a waterproof layer that protects the roof from rain, snow, and sunlight. You can use a few types, like EPDM rubber, TPO, or modified bitumen. Installing the membrane means rolling it out carefully, applying adhesive underneath, and pressing it down smoothly to avoid air bubbles. Pay special attention to the edges and corners, where leaks are more likely to happen.
5- Sealing Edges and Corners
Once the membrane is in place, you need to seal up the edges and corners. Flashing, thin metal pieces, are used around chimneys, vents, and where the roof meets the walls. You apply sealant over these areas to stop water from getting in. This step might seem small, but it’s one of the keys to a leak-free flat roof.
6- Waterproofing and Testing
After sealing everything, it’s time to double-check that your roof is waterproof. You can pour water on the roof to see if it flows off correctly and look underneath for leaks. If you find a problem, fix it right away before it causes damage.

Different Features to Add to a Flat Roof
Flat roof structure gives you a great opportunity to add extra features. Here’s how to install a few popular options.
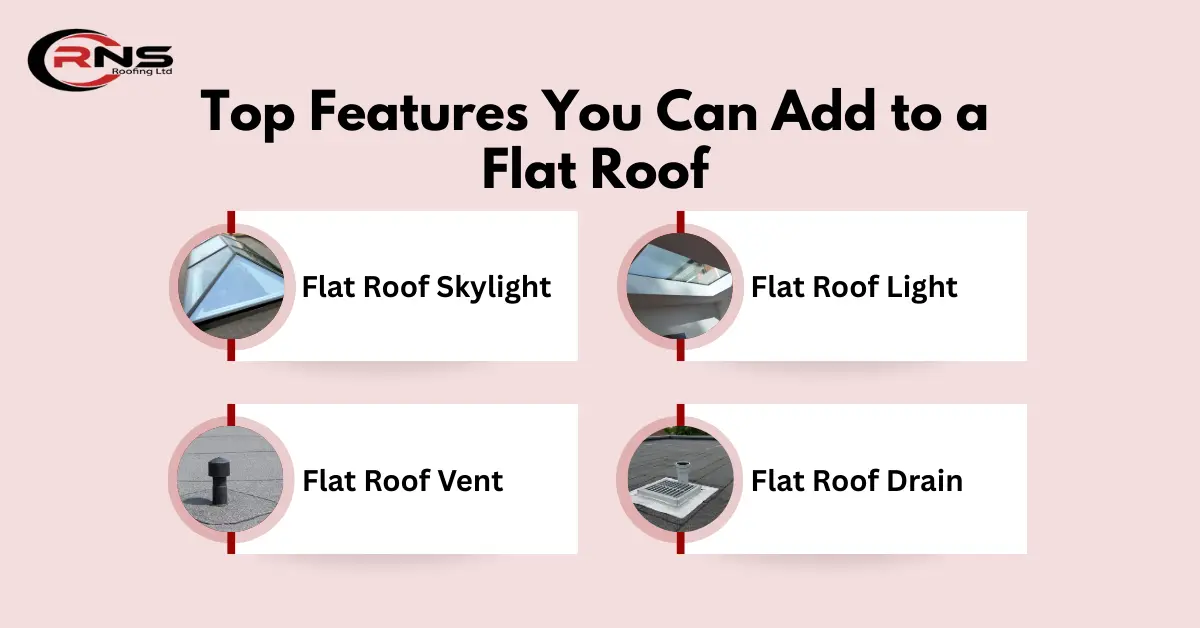
Flat Roof Skylight
To install a skylight, you start by cutting a hole in the roof where you want the light to come through. Then, you build a raised frame around the hole (called a curb) and place the skylight on top. Use flashing and sealant all around it to stop leaks. Skylights are great for adding natural light to dark spaces.
Flat Roof Vent
A vent helps air flow in and out of the building, which prevents moisture and mould. You’ll need to cut a hole in the roof, place the vent, and seal it with flashing and waterproof tape. Make sure it’s in a spot where it can easily push out air without being blocked.
Flat Roof Light
If you want outdoor lighting on your roof, you can install special waterproof roof lights. These lights are sealed and safe to use in wet areas. Drill a hole for the wiring, install the light fixture, and seal everything tightly to keep out moisture.
Flat Roof Drain
Drains help remove rainwater quickly, which is super important for flat roofs. You place the drain at the lowest point of the roof so water naturally flows into it. Then, connect it to a pipe system that carries water away. Seal all joints tightly so water doesn’t leak through.

Pro Tips for Long-Lasting Flat Roofs
To keep your flat roof in great shape for many years, make sure it has a gentle slope. Even a small slope helps water drain off instead of pooling in one spot.
Choose your roofing material based on your climate; rubber membranes like EPDM are good for cold areas, while white TPO is better for hot, sunny places.
Also, make it a habit to check your roof twice a year. Clean off leaves, dirt, and snow. Look for cracks or open seams and fix them early before they turn into bigger issues.
Conclusion
Installing a flat roof may seem like a big task, but it becomes manageable when you break it down into simple steps. The key is preparing your surface properly, using the right materials, and paying attention to details like sealing and drainage. If you feel confident in your DIY skills, you can handle this project yourself. But if you’re unsure or the structure is large, getting professional help is a smart choice. At RNS Roofing, we provide professional flat roofing services in Horsham and the nearby areas. Contact us today for a free estimate.
FAQs
How long does a flat roof last?
A properly installed flat roof can last 15 to 30 years, depending on the material used and how well it’s maintained. Regular cleaning and sealing can extend its life.
How much does it cost to install a flat roof?
The cost depends on the size, materials, and whether you’re doing it yourself or hiring help. On average, it can range from $5 to $15 per square foot.
Do flat roofs need a slope?
Yes, flat roofs should have a slight slope (about 1/4 inch per foot) to allow water to drain properly. Without a slope, water can pool and cause leaks or damage.
What’s the difference between flat roof membranes like EPDM and TPO?
EPDM is a rubber-like material that’s very flexible and great for cold areas. TPO is a white, reflective material better for sunny and hot climates. Both are waterproof and durable.

