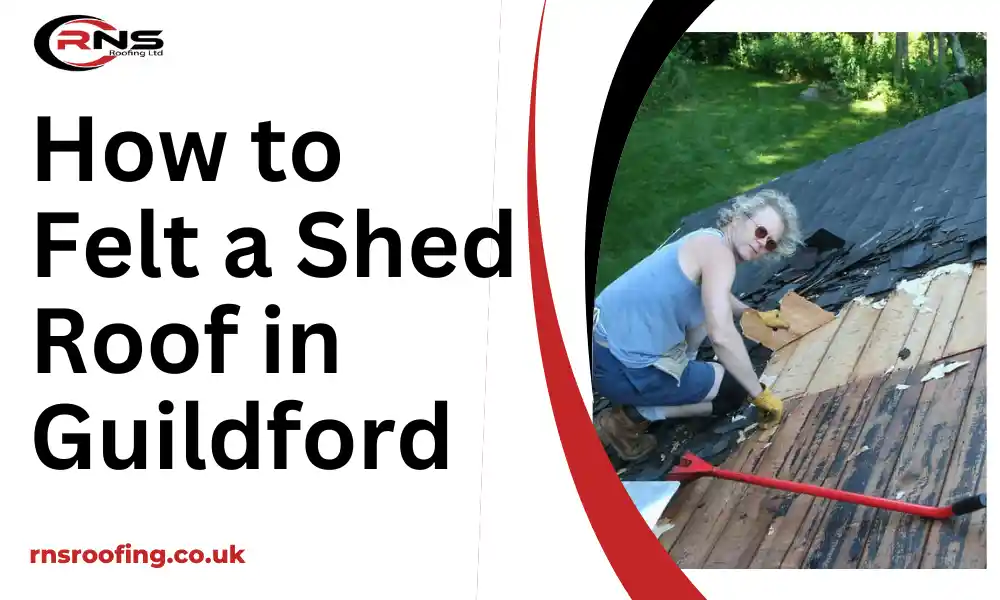
If you’re wondering how to felt a shed roof in Guildford, you’ve come to the right place. Felting your shed roof is a practical and cost-effective way to protect it from the elements, especially with the unpredictable British weather. This guide will walk you through installing roofing felt to keep your shed watertight and looking great for years. Whether you’re a seasoned DIYer or just starting, our tips will make the job easy.
Why Should You Felt Your Shed Roof?
Felt is popular for shed roofs, particularly here in Guildford, where we face frequent rain and seasonal temperature changes. It is waterproof, durable, and relatively easy to apply, making it a top choice for DIYers and professionals.
Tools and Materials You’ll Need
Before you get started, make sure you’ve got the right tools and materials on hand.
Here’s a quick checklist:
- Roofing felt
- Roofing nails or adhesive
- Hammer or nail gun
- Utility knife
- Tape measure
- Ladder (if necessary)
- Roofing batten (optional)
It’s always worth buying a bit more felt than you think you need, just in case you make a mistake or need to overlap more than expected.
How to Felt a Shed Roof in Guildford: Best Method for Durable Protection
Step 1: Prepping Your Shed Roof
First things first, make sure your shed roof is ready for felting. You’ll need to remove any old felt and clean the surface. It should be smooth, dry, and free of debris. If there’s any damage to the roof boards, now’s the time to repair or replace them.
A clean, flat surface will help the felt stick properly and ensure the roof is fully protected from the elements.
Step 2: Measuring and Cutting the Felt
Next, you’ll need to measure the size of your shed roof. Measure the length and width, allowing for about 5 cm of overhang on all sides. This extra bit will help stop water from getting underneath the felt.
Using your utility knife, carefully cut the felt to the required size. Ensure you’re working in a space where you can lay the felt flat while cutting it.
Step 3: Laying the First Layer of Felt
Now comes the fun bit — applying the felt. Start by laying the first piece of felt along the roof’s lower edge, ensuring the overhang is even. Secure the felt in place using roofing nails or adhesive. Nails should be spaced every 10-15 cm along the edges and centre to keep it secure.
If you’re using adhesive, apply it evenly across the surface before pressing the felt down. Smooth it out as you go to avoid any bubbles or wrinkles.
Step 4: Adding the Second Layer
Adding a second layer of felt is a good idea to make your shed roof extra durable. Lay the second piece of felt over the top of the first, overlapping by about 10cm to create a watertight seal. Again, secure it with nails or adhesive.
Ensure the felt for the shed roof is appropriately aligned and that any seams are well covered. This will prevent leaks and extend the lifespan of your shed roof.
Step 5: Finishing Touches
Once you’ve laid both layers of felt, it’s time to tidy up the edges. Use your utility knife to trim any excess felt from the sides, leaving a clean, professional finish. You can add a strip of roofing batten along the edges for a more polished look.
Finally, check for gaps or loose areas. If everything looks good, your shed roof is now fully felted and ready to handle whatever the Guildford weather throws!
Maintaining Your Felt Shed Roof
Even though felt is a durable material, it’s worth monitoring your shed roof over time. Check for signs of wear or damage, particularly after heavy rain or wind. If you notice any issues, a quick patch-up with new felt should do the trick.
With proper care, your felt roof should last for years, keeping your shed dry and secure.
Benefits of Felting Your Shed Roof
Felt for shed roof offers several benefits, especially for sheds exposed to the elements. Here’s why it’s such a great choice:
- Weatherproof:
Felt forms a watertight barrier, keeping rain, snow, and moisture out.
- Cost-Effective:
Felt is an affordable material, making it an excellent option for budget-friendly roofing solutions.
- Easy to Install:
Whether you’re a DIY enthusiast or hiring a professional, felting is simple and doesn’t require complex tools.
- Durability:
With proper installation and maintenance, felt can last 10-15 years, making it a long-lasting solution for protecting your shed.
Conclusion
Felt roofing is a practical and cost-effective way to protect your shed from the unpredictable Guildford weather. Following these simple steps, you can ensure your felting shed roof stays watertight and looks great for years. When choosing roofing felt for sheds, selecting a durable and waterproof material that can withstand Guildford’s rainy weather is essential, ensuring long-lasting protection for your outdoor structure.
FAQs
1. What is the best type of felt for a shed roof?
Bitumen-based roofing is a popular choice for shed roofs in Guildford. It’s durable, weather-resistant, and offers excellent protection against rain and moisture.
2. How many layers of felt should I use on my shed roof?
Typically, two layers of felt are recommended for extra protection and durability, especially in areas like Guildford, where weather conditions can be harsh.
3. How often should I inspect and maintain my felt shed roof?
Regular inspections are recommended at least once a year to check for damage or wear. Minor repairs can be made quickly, but it’s best to consult a professional for major issues.
4. How do I maintain a felt shed roof?
Inspect your felt roof annually for any signs of wear or damage. If you notice cracks, tears, or leaks, repair them promptly to avoid further issues.

